
How to Use a Food Processor to Make Nut Butter at Home
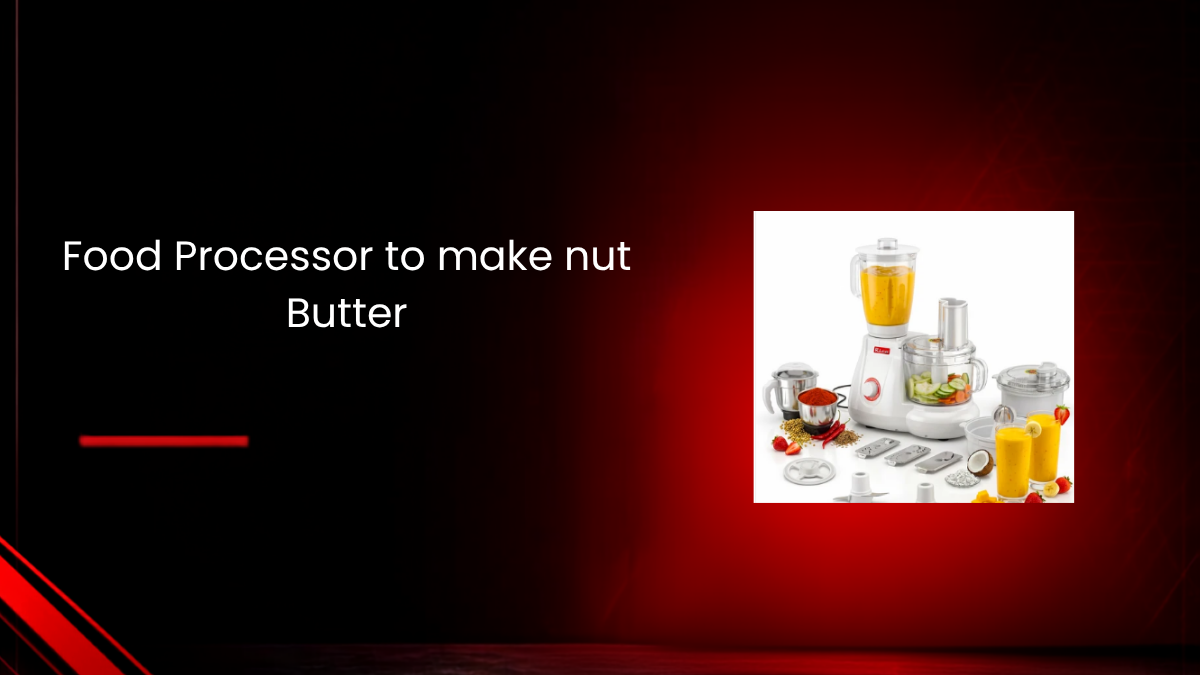
Store-bought nut butter can get expensive, especially the natural, no-additive kind. Using a food processor to make nut butter at home is a simple, cost-effective alternative that takes just a handful of ingredients and some patience.
The process is surprisingly straightforward: roast your nuts, blend them until smooth, and store. Learning how to use a food processor to make nut butter properly means understanding a few key techniques that make the difference between a creamy result and a chunky, frustrating mess.
This guide walks through everything you need to know, from choosing your nuts to troubleshooting common issues. And if your current machine isn't up to the job, Rico's range of kitchen appliances includes options with the power to handle it.
Why Use a Food Processor to Make Nut Butter?
A food processor to make nut butter works exceptionally well because its sharp blades and powerful motor can break down nuts gradually, from whole pieces to meal, then clumps, and finally a smooth, creamy butter.
Making nut butter at home also lets you control exactly what goes in it. You skip the added sugars, preservatives, and excess oils often found in commercial versions, while customising flavours to your taste.
Choosing Your Nuts
Almost any nut works well for homemade butter, though some blend more easily than others.
-
Almonds: A popular, mild-flavoured base that blends smoothly.
-
Cashews: Naturally creamy, even without extensive roasting.
-
Peanuts: Classic and affordable, blends easily when roasted.
-
Walnuts and pecans: Rich in flavour, though slightly softer once processed.
-
Hazelnuts: Delicious, though the skins should be removed after roasting for the best texture.
You can also mix nuts or add seeds like sunflower or pumpkin seeds for variety.
Step-by-Step: How to Use a Food Processor to Make Nut Butter

Step 1: Roast Your Nuts
Preheat your oven to around 175°C (350°F) and spread the nuts evenly on a baking sheet. Roast for 8 to 12 minutes, or until fragrant and lightly golden.
Roasting brings out natural oils, which significantly improves both flavour and texture when blending. Raw nuts can technically be used too, but they typically take longer to break down into a smooth butter.
Step 2: Remove Skins If Necessary
If you're using hazelnuts, their skins often loosen during roasting. Once cooled slightly, rub the nuts together in a clean kitchen towel to remove most of the loose skin before processing.
Step 3: Let the Nuts Cool Slightly
Allow the roasted nuts to cool for about 10 minutes, until warm but no longer too hot to touch. This short cooling period actually helps the blending process, making the nuts easier to break down smoothly.
Step 4: Process Until Smooth
Add the nuts to your food processor and blend continuously. This is the most important part of learning how to use a food processor to make nut butter successfully, since patience genuinely matters here.
The nuts will go through several stages: whole nuts, then a coarse meal, then clumps, and finally a smooth, pourable butter. This entire process can take 10 to 12 minutes, sometimes longer, depending on your machine's power.
Step 5: Scrape the Sides as Needed
Pause occasionally to scrape down the sides of the bowl with a spatula. This ensures all the nuts get evenly incorporated, rather than some pieces sitting untouched near the edges.
Step 6: Add Flavourings, If Desired
Once your nut butter reaches a smooth, creamy consistency, add any optional ingredients like a pinch of salt, a dash of vanilla, or a spoonful of honey. Blend briefly again to incorporate.
Avoid adding liquid ingredients like oil, water, or maple syrup during the main blending process, since these can actually disrupt the creamy texture rather than improve it.
Step 7: Store Properly
Transfer your finished nut butter to a clean, airtight jar. Store it in the refrigerator for up to three weeks, or at room temperature for shorter-term use, depending on your preference.
Why Patience Matters When Blending
One of the most common mistakes when learning how to use a food processor to make nut butter is stopping too early. The nuts genuinely do go through an unappealing, crumbly stage before turning creamy, and many people give up right before that transformation happens.
Trust the process, keep the machine running, and scrape the sides periodically. The natural oils in the nuts will eventually release, creating that smooth, spreadable texture you're aiming for.
Choosing the Right Food Processor for Nut Butter
Not every food processor handles nut butter equally well. A stronger motor makes a noticeable difference, since continuous blending for 10 minutes or more puts real strain on weaker machines.
If you're evaluating motor power across kitchen appliances, our breakdown of the difference between 550W and 750W mixer grinders explains how wattage affects performance under sustained use, a principle that applies directly to nut butter blending too.
The S-blade, the standard multipurpose blade included with most food processors, works best for this task. If you're curious about the different blades and attachments available, it helps to understand your machine's full capabilities before starting.
Food Processor vs Blender for Nut Butter
Both appliances can technically make nut butter, though they work slightly differently. A food processor's wide bowl and sharp blades handle the gradual breakdown from whole nuts to butter effectively, while high-speed blenders can achieve similar results faster, provided they're powerful enough.
If you're deciding between these two appliances for this task, our comparison of slow juicer vs blender explores similar trade-offs in texture and processing power that apply broadly across blending appliances.
Common Mistakes to Avoid
Even with the right technique, a few common errors can affect your results.
-
Stopping too early: The crumbly, clumpy stage is normal and temporary. Keep blending past it.
-
Adding liquid too soon: Oil or water can disrupt the natural creaminess that develops from the nuts' own oils.
-
Overloading the bowl: Too many nuts at once can strain the motor and prevent even processing.
-
Skipping the scrape-down step: This leaves unprocessed nuts stuck to the sides, resulting in uneven texture.
-
Using unroasted nuts without adjusting expectations: Raw nuts take longer to blend smoothly compared to roasted ones.
How to Tell If Your Nut Butter Has Gone Bad
Since homemade nut butter contains no preservatives, it's worth knowing the signs of spoilage. Rather than relying solely on visible mould, pay attention to smell and taste.
If your nut butter develops a rancid or unpleasant odour, it's time to discard it, even if no mould is visible. Properly stored in the refrigerator, most nut butters stay fresh for up to three weeks.
Creative Variations to Try
Once you've mastered the basic technique, experiment with different flavour combinations.
-
Cinnamon raisin peanut butter: Add a dash of cinnamon and a handful of raisins during the final blend.
-
Chocolate hazelnut butter: Combine roasted hazelnuts with a small amount of dark chocolate for a homemade Nutella-style spread.
-
Mixed nut butter: Combine almonds, walnuts, and cashews for a more complex flavour profile.
-
Seedy butter: Add sunflower or pumpkin seeds for extra crunch and nutrition.
Beyond Nut Butter: Other Uses for Your Food Processor
Once you've learned how to use a food processor to make nut butter, you'll likely find yourself reaching for the appliance for other tasks too. From chopping vegetables to kneading dough, a food processor's versatility extends well beyond this one recipe.
If you're comparing it to other kitchen appliances you might own, our guide on wet grinder vs mixer grinder explores how different appliance designs handle similar grinding and blending tasks.
Similarly, if chopping fresh produce is part of your routine, our comparison of manual vs electric vegetable choppers can help you decide on complementary prep tools for your kitchen.
Multi-Function Alternatives Worth Considering
If you don't own a dedicated food processor, some multi-purpose kitchen appliances can handle similar tasks. Our guide on how to use a juicer mixer grinder explains how these hybrid machines manage grinding tasks, offering useful context if nut butter is just one of several things you want your appliance to handle.
Choosing the Right Appliance Before You Buy
If you're shopping specifically with nut butter and similar blending tasks in mind, it helps to evaluate power, jar capacity, and attachment options carefully before purchasing. Our detailed guide on how to choose the right mixer grinder offers a useful framework that applies broadly to appliance shopping decisions like this one.
Rounding Out Your Kitchen Setup
A food processor is a valuable addition to any well-equipped kitchen. If you're planning your broader appliance collection, our roundup of kitchen products covers other everyday essentials worth considering alongside your food processor.
Final Thoughts
Learning how to use a food processor to make nut butter comes down to a few simple principles: roast your nuts, blend patiently, scrape the sides regularly, and resist the urge to add liquid too early.
The process takes some time and a bit of trust, especially through that crumbly middle stage, but the payoff is a fresher, more affordable, and fully customisable nut butter you control from start to finish.
Frequently Asked Questions
Q1. How long does it take to make nut butter in a food processor?
Generally, 10 to 12 minutes of continuous blending, though this can vary depending on your machine's power and the type of nuts used.
Q2. Do I need to add oil when making nut butter in a food processor?
No, added oil often isn't necessary and can actually disrupt the natural creaminess that develops from the nuts' own released oils during blending.
Q3. Why is my nut butter still crumbly after several minutes of blending?
This is a normal stage in the process. Continue blending and scraping down the sides, since the nuts typically transform from crumbly clumps into smooth butter with more time.
Q4. Can I use raw nuts instead of roasted ones?
Yes, though roasted nuts generally blend faster and develop a richer flavour. Raw nuts can take longer to reach a smooth, creamy consistency.
Q5. How long does homemade nut butter last?
Stored in an airtight container in the refrigerator, homemade nut butter typically stays fresh for up to three weeks. Watch for a rancid smell or taste as a sign it's time to discard it.